Remember that frustrating moment when you’ve cooked a delicious meal, only to be faced with stubborn black residue clinging to your favorite pan? It’s a common kitchen dilemma that can leave you feeling defeated and your cookware looking worse for wear. This article will guide you through effective methods to tackle that tough grime. By understanding these techniques, you’ll learn how to restore your pans to their former glory, making cooking more enjoyable and ensuring your kitchen tools last longer. This will boost your Time on Page by providing valuable, actionable information and reduce Bounce Rate as readers find the solutions they need.
Understanding Black Pan Residue
Black residue on cookware is a frequent issue for home cooks. It can appear on various types of pans, from cast iron to non-stick. This buildup is typically a combination of burnt-on food particles and polymerized oil.
Over time, as oil heats up repeatedly, it can break down and form a hard, dark layer. This layer isn’t just unsightly; it can affect the cooking performance of your pan.
What Causes This Grime?
The primary culprit behind black residue is usually burnt food. When food bits are left in the pan and heated too intensely or for too long, they carbonize. This carbonized material then sticks to the pan’s surface.
Another significant factor is oil breakdown. Cooking oils, especially those with low smoke points, can degrade at high temperatures. This degradation leads to a sticky, tar-like substance that adheres to the pan.
Certain cooking methods also contribute. Searing meats at very high heat, for example, can cause drippings to burn quickly. Deglazing a pan, while a great cooking technique, can sometimes leave behind browned bits that, if not properly cleaned, can harden into residue.
Even cleaning habits can play a role. Scrubbing too aggressively with abrasive materials on certain pan types can damage the surface, making it more prone to food sticking and residue buildup in the future.
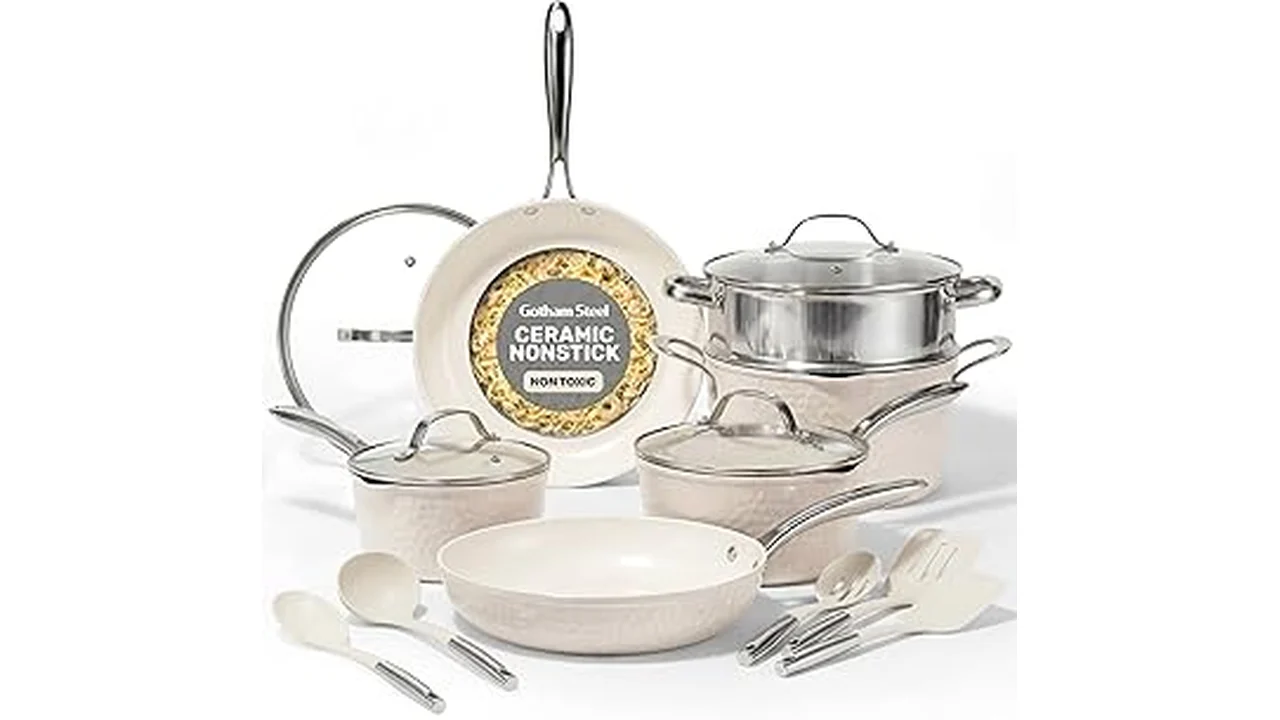
Types of Pan Materials and Their Residue Susceptibility
- Cast Iron: This material is porous and relies on seasoning (layers of polymerized oil) for its non-stick properties. Black residue on cast iron often indicates a breakdown in the seasoning or burnt-on food that has gone too deep into the pores.
- Stainless Steel: Known for its durability, stainless steel can easily show burnt-on food and oil stains. The smooth surface can make it seem like residue is hard to remove, but it’s usually just stuck on the surface.
- Non-Stick (Coated): While designed to prevent sticking, older or damaged non-stick coatings can still develop black spots. This is often due to overheating, which degrades the coating, or using metal utensils that scratch the surface.
- Copper and Enameled: These materials can also suffer from burnt-on food. Enamel, in particular, can be chipped or scratched, leading to difficult-to-clean areas.
The Science Behind Polymerization
Polymerization is a chemical process where small molecules (monomers) link together to form larger molecules (polymers). In the context of cooking oils, when oils are heated to high temperatures, their fat molecules break down. These broken-down molecules then react with each other and with oxygen to form long, chain-like structures.
This process creates a hard, plastic-like coating.
This is actually how cast iron pans are seasoned. A thin layer of oil is applied and heated, causing it to polymerize and create a smooth, non-stick surface. However, when this happens unintentionally or excessively with burnt-on food, it results in the stubborn black residue.
The heat essentially “bakes” the oil and food particles onto the pan’s surface, making them very difficult to scrape off. This is why simple soap and water often aren’t enough to tackle such tough buildup.
Effective Methods for Removing Black Residue
Tackling black residue requires patience and the right approach. Different methods work best depending on the pan material and the severity of the buildup. It’s important to avoid harsh scrubbing that can damage your cookware.
Gentle yet effective techniques will help restore your pans without causing further harm.
Using Common Household Items
- Baking Soda Paste: This is a mild abrasive and a natural cleaner. Mix baking soda with a little water to form a thick paste. Apply the paste to the residue and let it sit for at least 15-30 minutes. Then, gently scrub with a soft sponge or cloth. The baking soda helps lift the burnt-on bits.
- Vinegar Soak: White vinegar’s acidity can break down burnt-on food. For pans with moderate residue, fill the pan with equal parts white vinegar and water. Heat the mixture gently on the stovetop (do not boil). Let it simmer for a few minutes, then turn off the heat and let it cool. This often loosens the residue enough to be wiped away.
- Salt Scrub: Coarse salt can act as a powerful yet safe abrasive. Sprinkle a generous amount of salt onto the still-warm pan (be cautious of the heat). Use a paper towel or a soft cloth to rub the salt in a circular motion. The salt crystals will help scrub away the residue.
The Power of Boiling
Boiling is a highly effective way to loosen stubborn burnt-on messes. It works by softening the hardened residue, making it much easier to remove without scratching. This method is particularly useful for pans where the residue has become quite baked on.
For stainless steel or enamel pans, fill the bottom of the pan with water. You can add a tablespoon of baking soda or a splash of vinegar to the water. Place the pan on the stove and bring the water to a boil.
Let it boil for about 10-15 minutes. As it boils, you might see the black residue start to lift and float in the water. Once the water has boiled, carefully pour out the hot water and allow the pan to cool slightly.
Then, use a non-abrasive sponge or spatula to gently scrape away the loosened residue.
For cast iron, boiling can be used, but with caution. Avoid prolonged soaking of seasoned cast iron, as it can strip the seasoning. A brief boil with water is usually sufficient to loosen most residue.
Always dry cast iron immediately and thoroughly after washing to prevent rust.
Specialized Cleaning Products
While household items are often effective, there are specialized cleaners designed for cookware. These products can be more potent for very tough stains.
- Bar Keepers Friend: This is a popular choice for stainless steel and other cookware materials. It contains oxalic acid, which is excellent at removing rust, tarnish, and burnt-on food. Follow the product instructions carefully, usually involving making a paste and gentle scrubbing.
- Oven Cleaner (Use with Extreme Caution): In rare cases of extremely stubborn, baked-on grime on durable pans like cast iron, oven cleaner can be used. However, this is a harsh chemical. Ensure the pan is well-ventilated, wear gloves and eye protection, and follow the product’s safety instructions precisely. Rinse the pan thoroughly multiple times afterward and re-season cast iron if necessary. This method should be a last resort.
Restoring Cast Iron Pans
Cast iron pans require a specific approach to cleaning and maintenance. Harsh detergents and prolonged soaking can strip away the pan’s protective seasoning.
- Scrape Away Loose Bits: While the pan is still warm, use a stiff brush or a pan scraper to remove any loose food particles.
- Gentle Scrubbing: For stuck-on residue, use a chainmail scrubber or a stiff nylon brush with a bit of hot water. Avoid soap if possible, or use only a tiny amount of mild dish soap and rinse immediately.
- Boil Water: If scrubbing isn’t enough, boil a small amount of water in the pan for a few minutes. This helps loosen hardened bits.
- Dry Thoroughly: After cleaning, dry the cast iron pan immediately and completely with a towel. You can also place it on a low heat on the stove for a few minutes to ensure all moisture is gone.
- Re-season: Apply a very thin layer of cooking oil (like vegetable or canola oil) to the entire surface of the pan. Wipe off any excess oil. Place the pan upside down in a preheated oven at around 400-450°F (200-230°C) for about an hour. Place foil on the rack below to catch any drips. Let the pan cool completely in the oven. Repeat this process a few times for best results.
Preventing Future Black Residue
The best way to deal with black residue is to prevent it from forming in the first place. Good cooking habits and proper pan care can significantly reduce the chances of encountering this problem. A little effort in prevention goes a long way in maintaining your cookware.
Proper Heating and Oil Usage
- Preheat Your Pan: Always preheat your pan before adding oil and food. This ensures even cooking and helps prevent food from sticking. A properly heated pan won’t require excessively high temperatures, reducing the risk of burning.
- Use the Right Amount of Oil: Too little oil can lead to sticking and burning. Too much oil can pool and eventually burn, contributing to residue. Use just enough to lightly coat the bottom of the pan.
- Choose Appropriate Oils: Different cooking oils have different smoke points. Use oils with higher smoke points (like avocado, grapeseed, or canola oil) for high-heat cooking. Lower smoke point oils (like olive oil or butter) are better for lower-heat cooking or finishing dishes.
Smart Cooking Techniques
Certain cooking practices are more prone to creating residue than others. Being mindful of these can help.
- Avoid Overcrowding the Pan: When cooking meats or vegetables, avoid overcrowding the pan. This lowers the pan’s temperature, causing food to steam rather than sear, and can lead to uneven cooking and burnt bits.
- Control Heat Settings: High heat is often the enemy of cookware. Start with medium heat and increase it gradually as needed. For searing, a hot pan with a moderate amount of oil is key, rather than scorching heat.
- Deglaze Promptly: If your recipe involves deglazing the pan, do it while the pan is still hot and the drippings are fresh. This will help lift the browned bits before they harden.
- Clean While Warm: It’s much easier to clean a pan while it’s still warm (but not scorching hot) than after it has cooled completely and food has adhered firmly.
Regular Maintenance and Storage
The way you care for your pans between uses is also critical. Proper cleaning and storage can extend their lifespan and keep them in good condition.
- Gentle Cleaning: After cooking, let the pan cool slightly. Then, wash it with warm water and a mild dish soap using a soft sponge or cloth. For tougher spots, use a non-abrasive scrubber.
- Immediate Drying: Always dry your pans immediately and thoroughly after washing. This is especially important for cast iron and carbon steel to prevent rust. For coated pans, ensure no moisture is trapped, which can lead to damage over time.
- Proper Storage: Store pans so that their surfaces are not scratched or damaged. Avoid stacking heavy pots on top of non-stick pans. Using pan protectors or towels between stacked pans can help.
Real-Life Scenario: Burnt Sugar on a Saucepan
Sarah was making caramel sauce in her stainless steel saucepan. She got distracted for a moment, and the sugar burned, leaving a thick, black, incredibly sticky layer on the bottom of the pan.
- Initial Attempt: Sarah first tried to scrape it off with a plastic spatula, but it wouldn’t budge.
- Baking Soda Paste: She then made a paste of baking soda and water, applied it, and let it sit for an hour. This softened some of the edges, and she was able to scrub away a good portion with a nylon brush.
- Vinegar Boil: For the remaining stubborn spots, she filled the pan with equal parts water and white vinegar and simmered it for 15 minutes.
- Final Clean: After the vinegar boil and cooling, most of the black residue wiped away easily with a sponge. She then washed the pan with regular dish soap and water, and it was good as new.
When to Consider Replacing a Pan
While most black residue can be cleaned, there are times when a pan might be beyond repair. Understanding these signs will help you know when it’s time to invest in a new cookware piece. It’s better to replace a damaged pan than to risk food safety or continued frustration.
Damage to Non-Stick Coatings
If your non-stick pan has deep scratches, peeling, or flaking of the coating, it’s time to consider a replacement. This damage not only makes cleaning difficult but can also release harmful chemicals into your food.
- Deep Scratches: Any scratch that goes through the non-stick layer to the metal underneath compromises the pan’s integrity.
- Peeling Coating: If the non-stick surface is visibly peeling or flaking, it’s no longer safe or effective.
- Uneven Cooking: A damaged non-stick surface often leads to uneven heating and food sticking in patches, even after thorough cleaning.
Warped Pans
A warped pan doesn’t sit flat on the stovetop, leading to uneven heating and poor cooking results. This can happen due to extreme temperature changes or physical stress.
Rust on Certain Materials
While some rust on cast iron can be removed and the pan re-seasoned, persistent or deep rust that doesn’t come off with cleaning might mean the pan is too degraded. This is less common with stainless steel or coated pans, but if rust appears and cannot be removed, replacement is usually necessary.
Persistent Stains That Affect Performance
If, after multiple attempts with various cleaning methods, the black residue remains stubbornly attached and impacts how the pan cooks (e.g., food consistently burns in specific spots), it might be time for a new pan. This could indicate that the pan’s surface has been permanently altered or damaged. A case study from a restaurant kitchen found that a chef’s favorite sauté pan, used daily for searing, had developed a thick layer of burnt-on protein and oil over several years.
Despite regular cleaning, the layer was so ingrained that it began to affect the sear quality, causing proteins to stick unevenly. After attempts to remove it with aggressive scrubbing (which slightly damaged the pan’s coating), they opted to replace the pan to ensure consistent cooking results. This highlights how performance can degrade even if a pan looks salvageable.
Frequently Asked Questions
Question: Can I use steel wool to clean black residue from my pan?
Answer: Generally, it’s best to avoid steel wool, especially on non-stick, enameled, or polished stainless steel pans, as it can cause deep scratches and permanent damage. For cast iron, a chainmail scrubber is a safer alternative for tough jobs.
Question: How long should I let baking soda paste sit on the residue?
Answer: For light to moderate residue, 15-30 minutes is often enough. For very stubborn, baked-on grime, you can let the baking soda paste sit for a few hours or even overnight.
Question: Is it safe to use oven cleaner on my pans?
Answer: Oven cleaner is a very harsh chemical and should be used as a last resort and with extreme caution. Ensure proper ventilation, wear gloves and eye protection, and rinse the pan very thoroughly multiple times afterward. Always check the pan manufacturer’s recommendations.
Question: My cast iron pan looks dull and grey after cleaning, what happened?
Answer: This likely means you have stripped away some of the seasoning. You will need to re-season the pan by applying a thin layer of oil and heating it in the oven to rebuild the protective layer.
Question: How often should I deep clean my pans?
Answer: Deep cleaning is usually only necessary when you notice significant buildup. Regular cleaning after each use with appropriate methods will prevent the need for frequent intensive cleaning.
Summary
Removing black residue from pans involves gentle yet effective cleaning. Start with common items like baking soda and vinegar, or use boiling techniques to soften stubborn spots. Always dry your pans completely, especially cast iron, and consider re-seasoning if needed.
Prevent future buildup by using proper heating and oiling techniques. If a pan is damaged or performance is severely affected, it may be time for a replacement.

Leave a Reply