
Nonstick pans lose their coating over time, but you can restore their performance with proper cleaning and seasoning techniques. If you've noticed your favorite nonstick pan isn't working as well as it used to, you're not alone. Many home cooks face this frustrating situation where eggs stick, pancakes burn, and cooking becomes more challenging than it should be. The good news is that restoring a nonstick pan is absolutely possible, and it doesn't require replacing your cookware or spending a lot of money. Whether your pan's coating has worn down from regular use or built-up residue is affecting its performance, I'll walk you through proven methods to bring your nonstick pan back to life. After years of cooking and testing different restoration techniques, I've learned which methods actually work and which ones waste your time. This comprehensive guide will show you everything you need to know about how to restore nonstick pan functionality and extend the life of your cookware.
Understanding Nonstick Pan Damage
Nonstick pans are coated with special materials, most commonly polytetrafluoroethylene or PTFE, which prevents food from sticking during cooking. Over time, this coating can deteriorate due to heat exposure, metal utensils, abrasive sponges, and chemical buildup from cooking oils and food residue. The damage isn't always visible to the naked eye, but you'll notice it when your pan's performance starts declining. Understanding what causes nonstick pan deterioration helps you prevent further damage while working on how to restore nonstick pan performance.
The most common culprit behind nonstick pan failure is improper cleaning. Using steel wool, harsh scouring pads, or abrasive cleaners scratches and damages the protective coating. Metal utensils like forks and knives also leave microscopic marks that compound over time, reducing the nonstick pan's effectiveness. High heat is another significant factor—cooking at temperatures above medium-high can break down the coating's integrity. Additionally, using cooking sprays that contain lecithin or other additives can create a sticky film that makes the nonstick pan perform worse, not better.
I learned this the hard way when I ruined a expensive ceramic nonstick pan by preheating it at high heat while preparing a stir-fry. The coating became permanently damaged in just a few minutes, and I realized how important it is to treat these pans carefully from the start.

Deep Cleaning Your Nonstick Pan
Before attempting any advanced restoration techniques, you need to thoroughly clean your nonstick pan to remove accumulated buildup. Over time, cooking oils, soap residue, and food particles create a sticky film that mimics nonstick coating damage. Deep cleaning your nonstick pan can sometimes restore functionality without any additional work.
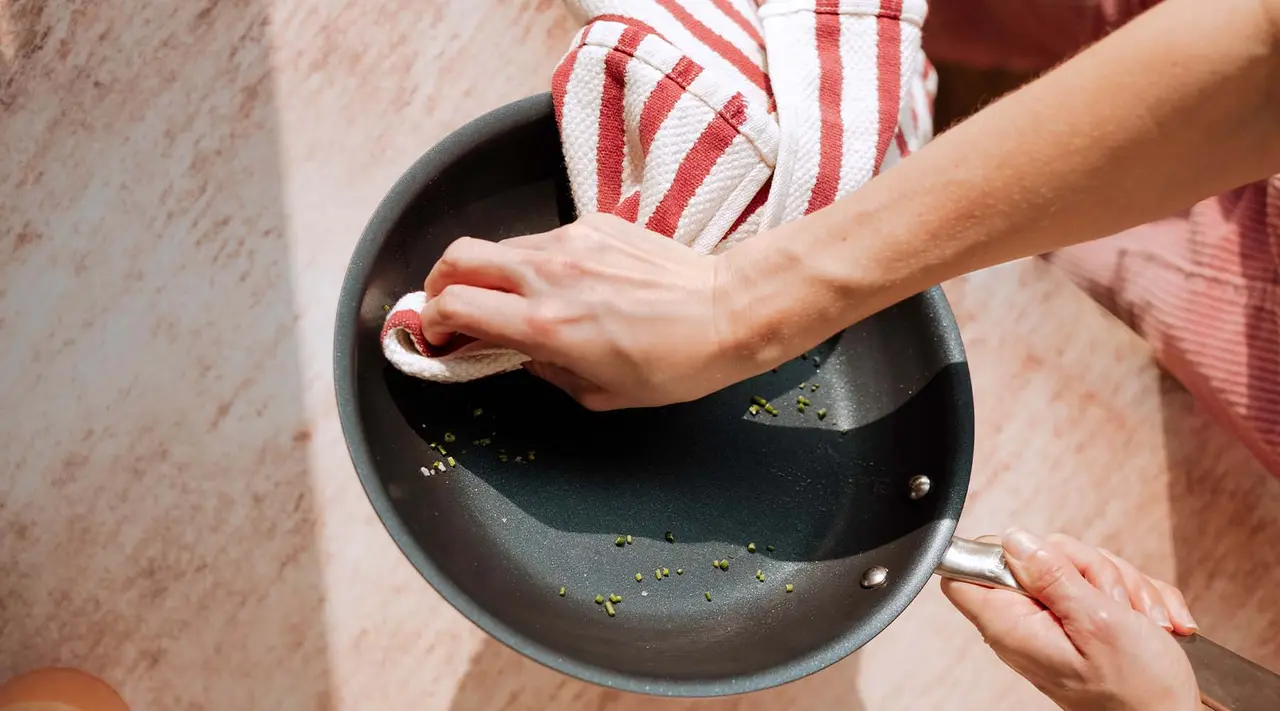
Start by filling your nonstick pan with warm water and a few drops of mild dish soap. Let it soak for 10 to 15 minutes to loosen stuck-on food and grease. Use a soft sponge or cloth to gently wipe the surface—never use steel wool or scouring pads. For stubborn buildup, try baking soda mixed with water to form a paste. Apply it to the affected areas and let it sit for a few minutes, then gently scrub with a soft cloth.
For heavy residue that won't budge, you can use white vinegar as a natural cleaning solution. Mix equal parts white vinegar and water, bring it to a boil in your nonstick pan, and let it cool. The acidic vinegar helps dissolve stubborn deposits without damaging the coating. This method is particularly effective for how to restore nonstick pan performance when cooking spray residue is the primary issue.
After cleaning, rinse thoroughly with clean water and dry immediately with a soft cloth. Never leave your nonstick pan wet, as prolonged moisture exposure can damage the coating over time. Drying immediately also prevents water spots and mineral buildup from hard water.
Seasoning Your Nonstick Pan
Once your nonstick pan is thoroughly cleaned, seasoning it can help restore nonstick properties and protect the coating. This process involves applying a thin layer of oil to the pan's surface, which bonds to the coating and creates a smoother, more slippery surface. Proper seasoning is one of the most effective ways to restore nonstick pan functionality.
Heat your clean nonstick pan on low heat for about two minutes to remove any remaining moisture. Apply a very small amount of high-heat cooking oil, such as avocado oil or coconut oil, to the entire cooking surface using a paper towel. Use just enough oil to coat the surface lightly—too much oil will create a sticky residue that defeats the purpose. Wipe away excess oil, leaving only a thin, barely visible layer.
Let the pan cool completely before using it. Many cooks prefer to season their nonstick pan in the evening and use it the next day. This allows the oil to fully bond with the coating overnight. For how to restore nonstick pan performance, repeat this seasoning process weekly if you use the pan frequently, or monthly for occasional use.
I've found that the best time to season a nonstick pan is right after cooking, when the pan is still warm. This allows the oil to coat the surface more effectively. Just be careful not to touch the hot pan directly—use a cloth or paper towel to apply the oil.
Removing Buildup with Boiling Methods
If your nonstick pan has stubborn buildup that regular washing hasn't removed, a boiling method can help restore its surface. This approach uses heat and water to loosen accumulated debris without damaging the coating, making it an excellent step in how to restore nonstick pan functionality.
Fill your nonstick pan halfway with water and add two tablespoons of baking soda. Bring the mixture to a boil and let it simmer for ten minutes. The combination of heat and baking soda works together to break down sticky residue and soap buildup. You'll likely see the water become discolored or cloudy, which indicates the baking soda is removing accumulated grime.
For extremely stubborn buildup, try the vinegar-and-baking-soda method. First, boil water with baking soda as described above. After draining, add white vinegar to the still-warm pan—don't be surprised by the fizzing reaction, as it's exactly what you want. Let it sit for five minutes, then scrub gently with a soft cloth. Rinse thoroughly and dry completely.
Another effective boiling method involves using just water and cream of tartar, which acts as a natural abrasive. Mix one tablespoon of cream of tartar with a small amount of water to create a paste, then apply it to affected areas. This method is gentler than commercial cleaners and works well for how to restore nonstick pan surfaces that are still in relatively good condition.
Using Commercial Restoration Products
Several commercial products are specifically designed to restore nonstick pan performance. These products work by coating the pan's surface with a protective layer that fills in microscopic scratches and worn areas. They're convenient options for how to restore nonstick pan functionality when you want quick results.
Nonstick pan restoration sprays are applied directly to a clean, dry pan and buffed with a cloth. They create a smooth, slippery surface similar to new cookware. These products typically contain silicone or wax-based compounds that adhere to the existing coating. While they're not permanent solutions, they can restore functionality for several months to a year with regular reapplication.
Before using any commercial restoration product, read the manufacturer's instructions carefully. Some products require the pan to be heated before application, while others work best on cool pans. Always ensure the pan is completely clean before applying restoration products, as dirt and oil can prevent proper adhesion.
I've personally tested several well-known restoration sprays, and the results vary depending on the underlying condition of your nonstick pan. They work best on pans with minor wear rather than heavily damaged cookware. For how to restore nonstick pan that still has most of its original coating intact, commercial products can be quite effective and convenient.

Proper Cooking and Maintenance Practices
After restoring your nonstick pan, maintaining it properly is essential to prevent future damage and keep it performing at its best. How you cook with and care for your nonstick pan directly impacts how long the restoration efforts will last.
Always use low to medium heat when cooking with nonstick pans. High heat accelerates coating breakdown and can eventually render your restoration efforts useless. Use wooden, silicone, or plastic utensils exclusively—never use metal forks, knives, or spatulas that scratch the surface. Even small scratches accumulate over time, making how to restore nonstick pan something you'll need to do more frequently.
Avoid using cooking sprays, which leave sticky residue that builds up quickly and defeats the nonstick properties. Instead, apply a small amount of butter or oil directly to the pan before cooking. This approach gives you better control over the amount of fat used and prevents the buildup that compromises your restoration work.
Hand wash your nonstick pan immediately after cooking with warm, soapy water and a soft sponge. Never put nonstick pans in the dishwasher, as harsh detergents and high heat accelerate coating degradation. Store your pans in a way that prevents them from clanging together—hanging them or using pan separators protects the coating from impact damage.

When to Replace Your Nonstick Pan
Despite your best restoration efforts, there comes a time when a nonstick pan is too damaged to repair effectively. Knowing when to let go and invest in a new pan prevents frustration and ensures you have reliable cookware for your kitchen.
If your nonstick pan has visible flaking or peeling coating, it's time to replace it. Once the coating begins to come off in pieces, it's releasing particles into your food, which isn't safe. A pan that's heavily scratched or has multiple deep gouges will never restore properly, no matter which techniques you try. When how to restore nonstick pan no longer works despite repeated attempts, the coating has likely deteriorated beyond repair.
Pans that have been used at excessively high heat for extended periods often suffer permanent damage that restoration can't fix. If you notice your pan heating unevenly or developing hot spots, the base may be warped or the coating may have separated from the metal underneath. These structural problems can't be solved through cleaning or seasoning.
The cost-benefit analysis matters too. If you've invested significant time and money trying to restore a cheap nonstick pan, sometimes buying a quality replacement pan makes more sense. However, if you have a high-quality pan worth saving, restoration efforts are usually worthwhile. I keep my favorite pans going for years through regular maintenance and occasional restoration, but I'm not afraid to retire pans that have truly reached the end of their useful life.
Choosing Quality Nonstick Cookware
Understanding what makes a nonstick pan durable helps you make better purchasing decisions and choose cookware that will last longer and require less frequent restoration. Not all nonstick pans are created equal, and investing in quality cookware reduces your need for how to restore nonstick pan in the first place.
Look for pans with multiple layers of nonstick coating rather than a single thin layer. Multi-layered coatings are more durable and resistant to scratching and wear. The base of the pan should be thick and heavy, which distributes heat evenly and resists warping. Ceramic nonstick coatings are more durable than traditional PTFE coatings and typically resist damage better, though they may not be quite as slippery initially.
Brand reputation matters significantly in the nonstick cookware market. Established manufacturers invest in research and development to create coatings that last longer and perform better. While quality nonstick pans cost more upfront, they require less restoration work and last significantly longer than budget options. I've found that spending more on one excellent pan is better than buying three cheap pans you'll need to restore repeatedly.
Check if your cookware comes with a warranty that covers coating damage. Some high-end manufacturers offer generous warranties that provide peace of mind if the coating fails unexpectedly. Before committing to a purchase, read customer reviews to see how the pan performs over time and whether owners report coating issues.

Natural and Safe Restoration Alternatives
If you prefer avoiding commercial chemical products, several natural substances can help restore nonstick pan performance safely. These alternatives are often as effective as commercial products while being safer for your family and the environment.
Coconut oil is an excellent natural option for seasoning and restoring nonstick pans. It has a high smoke point and bonds well with nonstick coatings. Apply it using the same method as other oils, letting it cool completely before using the pan. The slight coconut scent fades quickly and won't affect your food.
Beeswax mixed with oil creates a protective layer that restores nonstick functionality remarkably well. Mix melted beeswax with a small amount of avocado oil to create a paste, apply it thinly to the pan's surface, and buff away excess with a cloth. This combination creates a durable coating that lasts longer than oil alone. This method is particularly effective for how to restore nonstick pan surface that has minor wear.
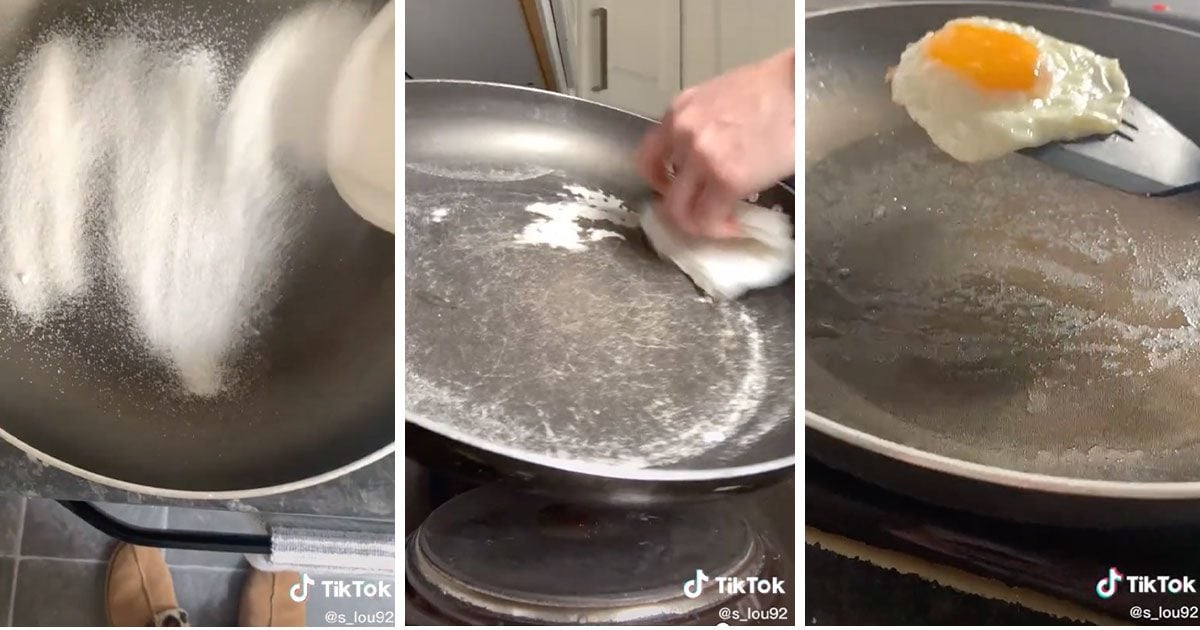
Salt is a gentle, natural abrasive that can help remove stubborn buildup without damaging the coating. Sprinkle coarse salt into a dry nonstick pan and use a paper towel to scrub gently in circular motions. The salt removes stuck-on food and grime while the oil from the paper towel conditions the surface. Rinse thoroughly and dry immediately after using this method.
Lemon juice's acidity helps break down stubborn residue similarly to vinegar. Cut a lemon in half and rub it directly onto the pan's surface, letting it sit for a few minutes before rinsing. This method works well for how to restore nonstick pan performance while leaving your pan smelling fresh and citrusy.
Frequently Asked Questions
Can you restore a nonstick pan with scratches?
Minor scratches can be improved through cleaning, seasoning, and restoration sprays, but deep gouges can't be fully restored. If the coating is still mostly intact with only light surface scratches, restoration methods will help, but severely damaged areas may continue to stick even after restoration attempts.
How often should you restore a nonstick pan?
The frequency depends on how often you use the pan and how well you maintain it. Most people find that monthly seasoning or quarterly commercial restoration keeps their pans performing well. Heavy users might need restoration every month, while occasional cooks may only need it a few times per year.
Is it safe to use a nonstick pan with peeling coating?
No, a nonstick pan with peeling or flaking coating should not be used for cooking. Pieces of coating can end up in your food, and ingesting coating fragments is potentially harmful. Replace pans that show visible peeling or separation immediately rather than attempting restoration.
What's the best oil for seasoning nonstick pans?
Avocado oil, coconut oil, and grapeseed oil work best for seasoning nonstick pans because they have high smoke points and don't easily become sticky. Avoid olive oil and butter, which have lower smoke points and can create sticky residue that worsens performance rather than improving it.
Can baking soda damage nonstick pans?
Baking soda is gentle enough for nonstick pans when used properly. Mix it with water to create a soft paste and scrub gently with a cloth rather than using it as a dry abrasive. Avoid harsh scouring with baking soda, as the pan's coating is delicate and deserves careful handling.
How long does nonstick pan restoration last?
The durability of restoration depends on the method used and how well you maintain the pan afterward. Oil seasoning typically lasts a few weeks to a month before needing reapplication, while commercial restoration sprays can last three to six months. Proper maintenance and careful cooking habits extend restoration results significantly.
Conclusion
Restoring your nonstick pan is often possible and well worth the effort, especially if you have quality cookware you want to keep using. Whether you choose deep cleaning, natural seasoning, or commercial restoration products, each method addresses different aspects of nonstick pan performance decline. The key to success lies in understanding what caused the damage and applying the appropriate restoration technique for your specific situation.
Going forward, focus on prevention by using low to medium heat, wooden utensils, and hand washing rather than automatic dishwashers. With consistent maintenance and occasional restoration, your nonstick pans can remain functional and reliable for years. If your restoration efforts don't improve performance significantly, it's probably time to invest in a quality replacement pan that will serve you better.
Start by trying the deep cleaning and seasoning methods described in this guide—they cost almost nothing and work surprisingly well for most nonstick pan issues. Share your experiences with pan restoration in the comments below, or let me know which techniques work best for your cookware. Your feedback helps other home cooks save money and keep their favorite kitchen tools in excellent condition.

Leave a Reply