To season a pan, coat it with oil and bake at a high temperature. This process creates a non-stick surface and prevents rust.
How Do You Season Pans:Seasoning pans is an essential step in maintaining the longevity and performance of your cookware, particularly when you’re dealing with cast iron or carbon steel items. By seasoning your pans, you create a patina that not only enhances flavor over time but also makes cleaning easier after cooking.
Whether you’re a professional chef or a home cook, understanding the proper technique to season your pans is a fundamental skill. It involves applying a thin layer of oil and heating the pan to polymerize the oil, forming a protective coating. This method not only improves your cooking experience but also extends the life of your pans, ensuring that each meal you prepare is cooked to perfection.
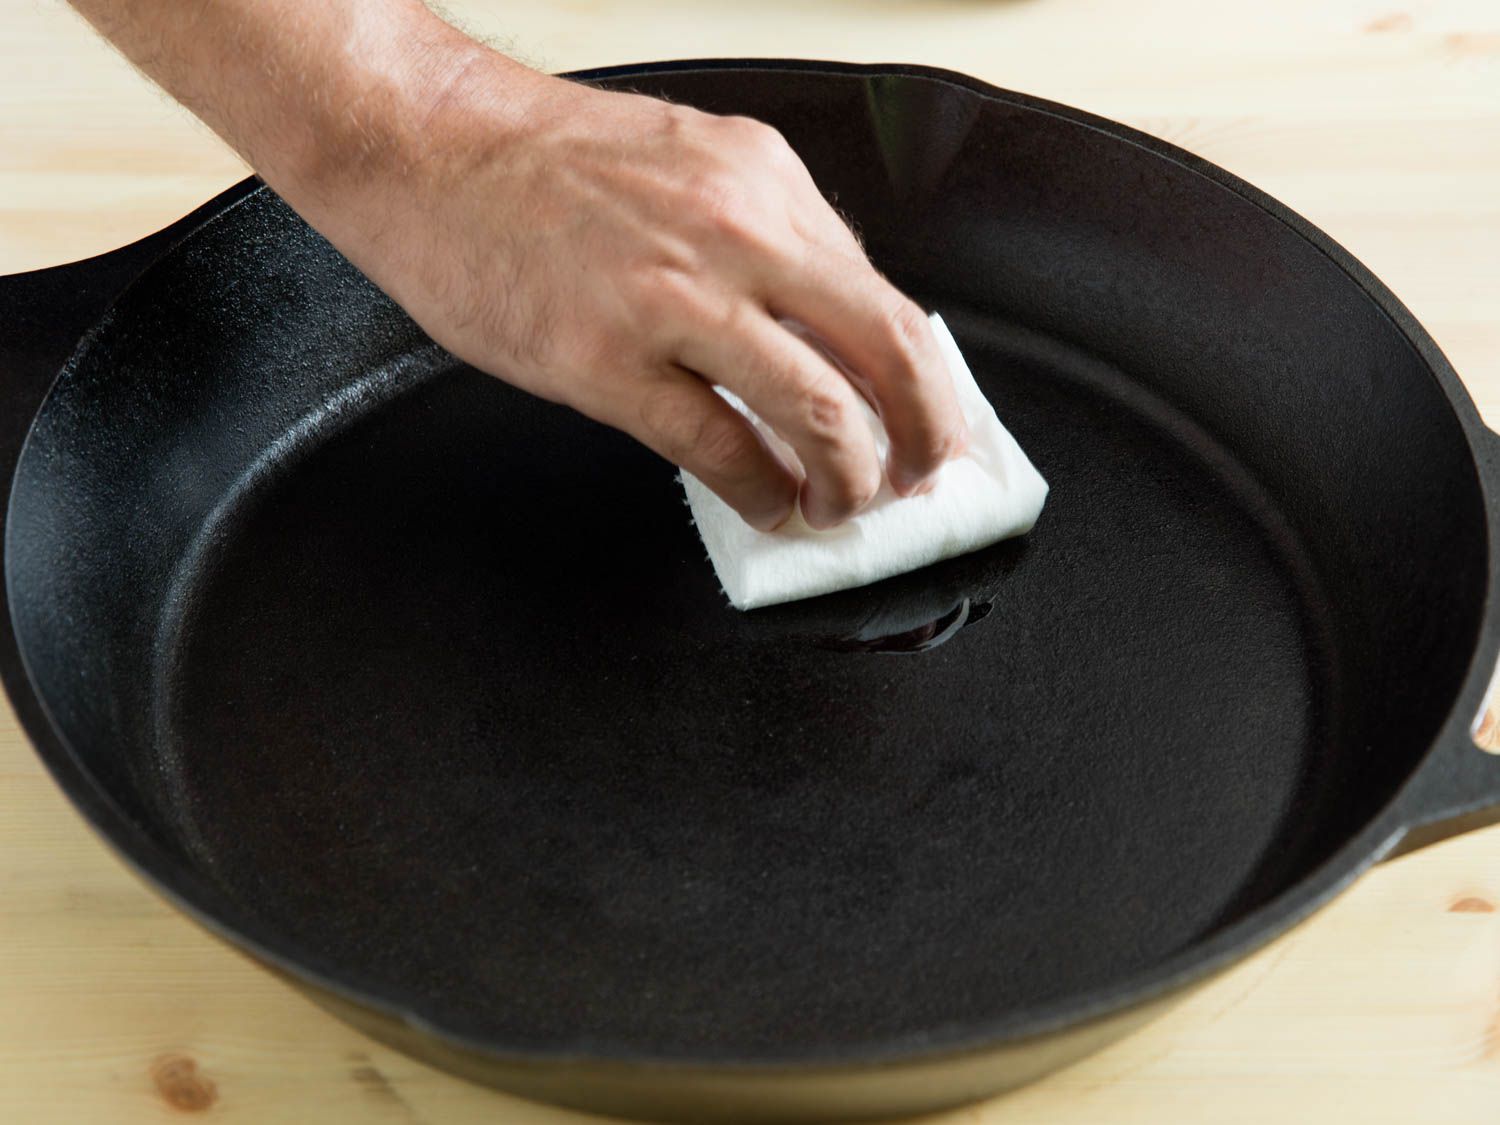
:max_bytes(150000):strip_icc()/How-to-Season-Cast-Iron-Skillet-3x2-1-bcd280f1703e47e0a59bb62e86a0d53a.png)
Credit: www.allrecipes.com
The Art Of Seasoning Pans
Seasoning pans is a crucial step for any kitchen enthusiast. It transforms cooking surfaces into non-stick wonders. The process builds a layer that protects pans and improves food flavor.
Why Seasoning Matters
Seasoning pans prevents rust and creates a non-stick surface. It enhances durability and performance. Food cooks better and tastes great.
Materials You’ll Need
- Soap – for initial cleaning
- Water – to rinse the pan
- Oil – with a high smoke point
- Oven or Stovetop – for heating
- Paper towels or Cloth – for oiling
Secret #1: The Right Oil Matters
Seasoning a pan is crucial for a non-stick surface. The oil you choose can make a big difference. Let’s dive into the first secret of perfect seasoning: selecting the right oil.
Choosing Your Oil
Not all oils are equal for seasoning pans. The best oils have high smoke points and are rich in fatty acids. These create a durable seasoning layer.
- Canola oil: Versatile and affordable.
- Grapeseed oil: High smoke point, ideal for seasoning.
- Flaxseed oil: Bonds well with cast iron.
Smoke Points To Consider
The smoke point is the temperature at which oil begins to smoke. High smoke point oils are essential for seasoning.
| Oil Type | Smoke Point |
|---|---|
| Canola Oil | 400°F (204°C) |
| Grapeseed Oil | 420°F (216°C) |
| Flaxseed Oil | 225°F (107°C) |
Choose oils with a smoke point higher than your cooking temperature. This ensures a well-seasoned pan that lasts.
Secret #2: The Oven Method
Ready to unlock the secret of perfectly seasoned pans? Secret #2: The Oven Method is your answer. This technique ensures an even, durable seasoning layer. Follow these steps for non-stick perfection.
Preparation Steps
Before you start, gather what you need:
- Unseasoned pan – Cast iron or carbon steel works best.
- Cleaning supplies – Soap, sponge, and dry towels.
- Oil – Choose one with a high smoke point, like flaxseed or canola.
- Oven – Ensure it’s clean to avoid smoke.
First, wash the pan with soap and warm water. Next, dry it thoroughly. Apply a thin oil layer all over, inside and out. Wipe off excess with a paper towel.
Temperature And Time
Preheat your oven to 375°F (190°C).
Place the pan upside down in the oven. This prevents oil from pooling. Leave it in for 1 hour. After that, turn off the oven. Let the pan cool inside. This process creates a hard, protective layer.
| Step | Action | Duration |
|---|---|---|
| 1 | Preheat oven | – |
| 2 | Place pan | – |
| 3 | Bake | 1 hour |
| 4 | Cool in oven | Until oven is cool |
Remember to repeat the oiling and baking steps. Do this 3-4 times for best results. Your pan is ready for cooking once cool. Enjoy your non-stick surface!
Secret #3: Stovetop Technique
Seasoning pans is a must for a non-stick, rust-free cooking experience. ‘Stovetop Technique’ stands out as a preferred method by many. It’s quick, effective, and easy to manage.
How To Begin
Start with a clean, dry pan. Ensure it’s completely moisture-free. Place the pan on the stovetop and turn the heat to medium.
Monitoring The Heat
Watch for the pan to heat up evenly. It should look slightly shimmering but not smoking. This is key to a perfect seasoning.
Let’s break down the steps:
- Wipe the pan with a thin layer of oil.
- Heat the pan gently until it starts to smoke.
- Swirl the oil around to coat the surface evenly.
- Cool the pan before repeating the process.
Use an oil with a high smoke point. Flaxseed oil or canola oil works well. The right oil ensures a durable seasoning.
Repeat the oiling and heating process three to four times. This builds up a strong non-stick layer.
Remember to handle the pan with care. It will be hot. Use oven mitts to prevent burns.
Season your pans regularly. This maintains their non-stick properties.
Secret #4: Maintaining Seasoned Pans
Maintaining seasoned pans is crucial for their longevity. Proper care ensures non-stick surfaces and flavorful cooking experiences. Let’s explore how to keep your pans in top shape.
Daily Care Tips
- After use, let the pan cool before washing.
- Clean with warm water and a soft sponge.
- Avoid soap to preserve the seasoning.
- Dry thoroughly with a towel.
- Apply a thin layer of oil before storing.
- Store in a dry place to prevent rust.
What To Avoid
Certain practices can damage the seasoning on your pans. Be mindful to keep them performing well.
| Avoid | Reason |
|---|---|
| Dishwashers | Too harsh and can strip seasoning. |
| Metal utensils | Can scratch and peel the seasoned layer. |
| Harsh cleaners | May corrode and damage the pan surface. |
| Soaking in water | Leads to rust and seasoning loss. |
Stick to these guidelines for optimal pan performance and durability.
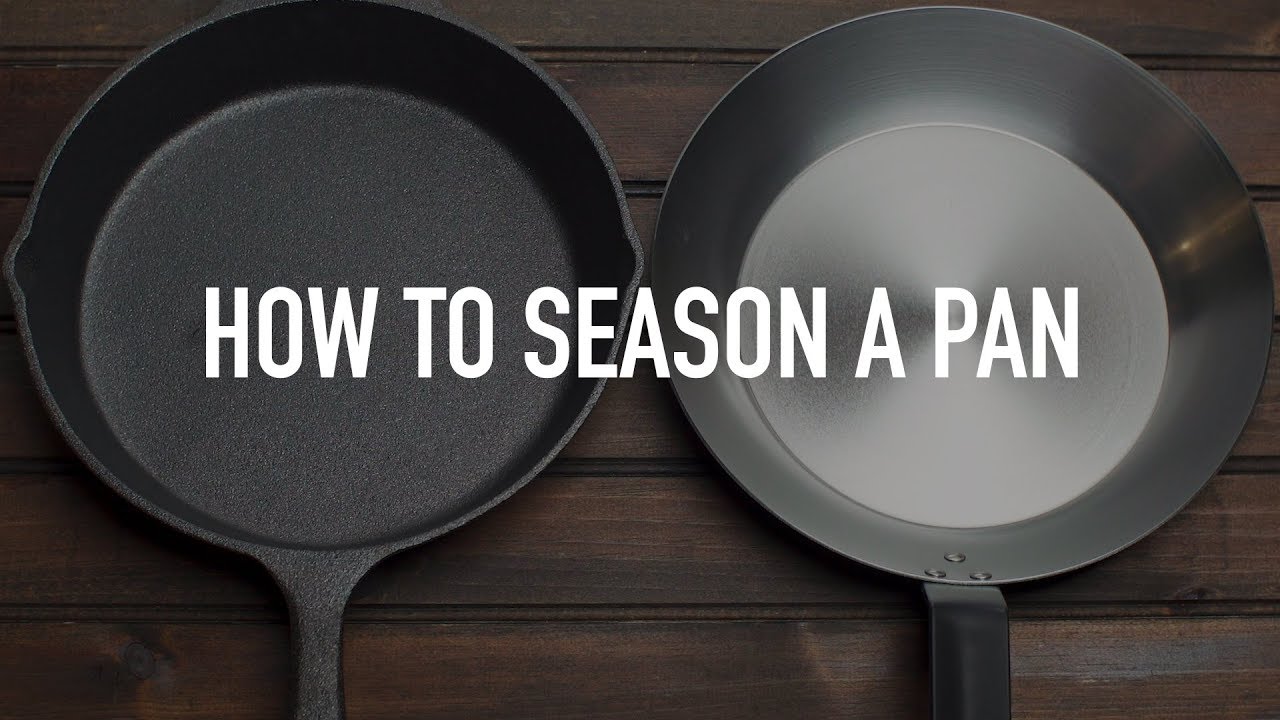
Credit: www.youtube.com
Secret #5: The Re-seasoning Process
Discovering Secret #5 unveils the art of re-seasoning pans, ensuring your cookware remains in prime condition. This crucial step revitalizes non-stick surfaces, enhancing your culinary experience.
Re-seasoning pans keeps them in top condition. Regular maintenance improves cooking and extends pan life. Let’s dive into the re-seasoning signs and a simple guide.
Signs Your Pan Needs Help
- Sticking food: Food should slide off easily.
- Dull, patchy surface: A good pan has an even sheen.
- Rust spots: These indicate moisture damage.
Spot these signs? Time for some pan TLC.
Step-by-step Guide
- Clean the pan: Wash with soap and water.
- Dry thoroughly: Use a towel or heat on the stove.
- Apply oil: Use a high-smoke point oil, like canola.
- Heat the pan: Place it upside down in a preheated oven.
- Bake the oil in: Keep it at 375-400°F for an hour.
- Cool down: Let the pan sit in the oven after turning it off.
Follow these steps for a pan that performs like new.
Common Seasoning Mistakes
Seasoning your pans is key to a non-stick surface. But mistakes can happen. Let’s fix that.
Using The Wrong Oils
Choosing the right oil is crucial for seasoning. Some oils don’t work well. They can leave a sticky residue.
- Avoid oils with low smoke points.
- Opt for flaxseed, canola, or grapeseed oil.
- These oils create a durable coating.
Overheating Your Pan
Too much heat damages pans. It can strip the seasoning off. Aim for a medium heat to season your pan.
| Temperature | Result |
|---|---|
| Low | Under-seasoned |
| Medium | Perfectly seasoned |
| High | Seasoning can burn off |
:max_bytes(150000):strip_icc()/__opt__aboutcom__coeus__resources__content_migration__serious_eats__seriouseats.com__2019__05__20190510-seasoning-carbon-steel-vicky-wasik-7-26892ffd80004cdb85b58a460863a712.jpg)
Credit: www.seriouseats.com
Faqs On Seasoning Pans
Welcome to the section where we tackle common questions about seasoning pans. Seasoning is a vital process for maintaining cookware, especially pans that you rely on daily. Let’s clarify some of the most frequently asked questions.
Can I Season Non-Stick Pans?
Can I Season Non-stick Pans?
Non-stick pans typically do not require seasoning. Their surface contains a coating that prevents food from sticking. However, over time, this coating can wear down. To prolong its life, a light coat of oil after cleaning can help. Avoid using the traditional seasoning process used for cast iron or carbon steel pans.
How Often Should I Season?
How Often Should I Season?
Seasoning frequency depends on use and pan type. Cast iron and carbon steel pans benefit from regular seasoning. Season after each use for best results. This maintains the non-stick surface and prevents rust. If you use your pan less frequently, a good rule is to season it at least once a month.
Additional Tips For Seasoning Pans
- Clean your pan before seasoning.
- Use a thin layer of oil; too much can get sticky.
- Heat the pan to allow the oil to polymerize.
- Let the pan cool down before storing it.
Frequently Asked Questions
How Do You Properly Season A Pan?
To properly season a pan, first clean it thoroughly. Heat it slightly, then apply a thin oil layer evenly. Heat the pan until it smokes, then let it cool. Wipe away excess oil. Repeat this process 3-4 times for a durable non-stick surface.
How Do You Season Cookware Before First Use?
Wash your cookware with warm soapy water. Dry thoroughly. Apply a thin layer of cooking oil. Heat the pan for one hour in an oven at 375°F. Let it cool in the oven.
How Do Chefs Season Their Pans?
Chefs season pans by heating them, applying a thin oil layer, and baking until a patina forms, ensuring a natural non-stick surface.
Do You Season A Pan Every Time You Use It?
You don’t need to season a pan every time you use it. Seasoning is typically done occasionally to maintain its non-stick surface. Regular cooking oils and fats contribute to the seasoning layer over time, enhancing its performance.
Conclusion
Seasoning your pans is a simple yet vital step to ensure their longevity and non-stick performance. By following the easy steps outlined, you can enhance your cooking experience significantly. Remember, a well-seasoned pan not only improves flavor but also becomes easier to clean.
Start seasoning your pans today and taste the difference in your meals.


Leave a Reply