
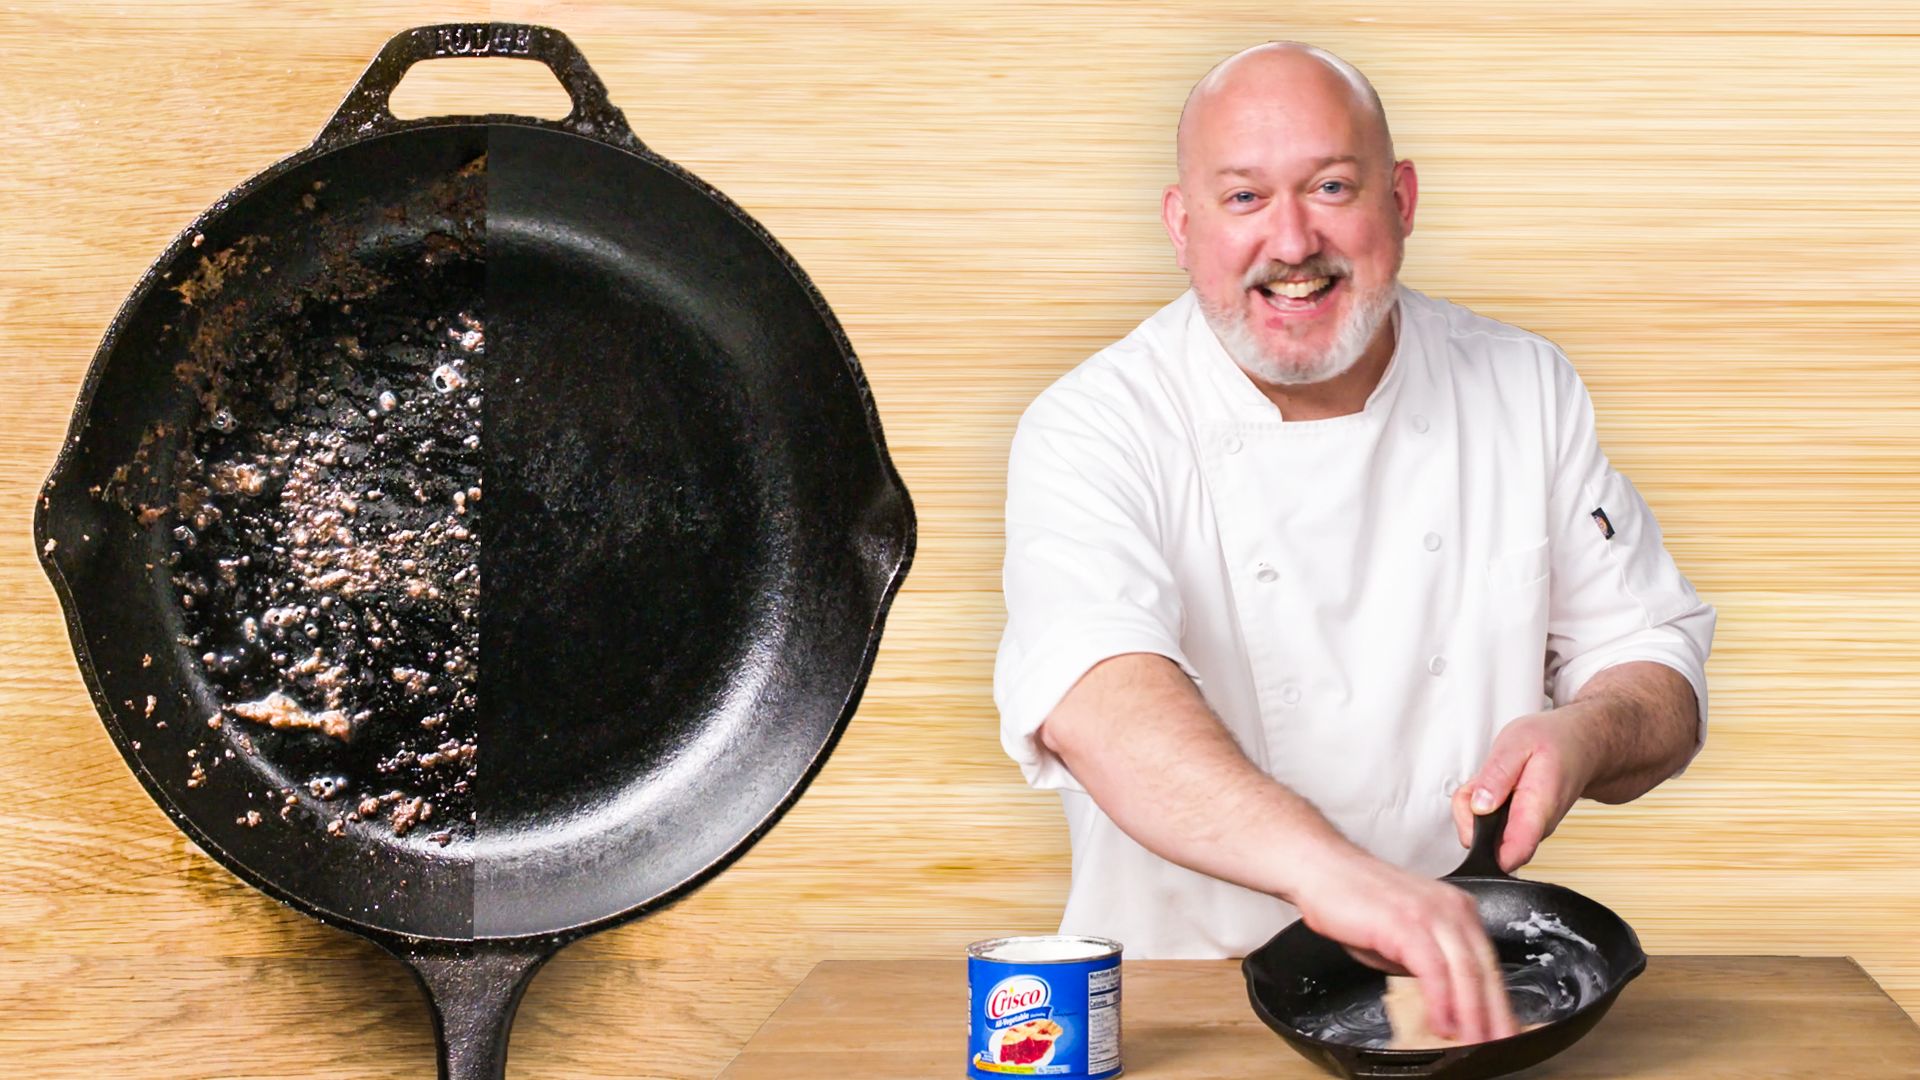
Seasoning a cast iron pan is the process of building up layers of polymerized oil to create a naturally nonstick surface that improves with time. If you’ve ever inherited a vintage cast iron skillet or picked one up at a thrift store, you know that these kitchen workhorses are built to last generations. The secret to unlocking their full potential lies in understanding how to season cast iron pan properly.
Cast iron has been a trusted cooking companion for centuries, and for good reason. Unlike modern nonstick cookware that degrades over time, cast iron actually gets better with age and proper care. When you learn how to season cast iron pan, you’re not just following a routine—you’re investing in a cooking tool that could outlive you. In this guide, I’ll walk you through everything you need to know about seasoning cast iron, from initial seasoning methods to maintaining that beautiful patina that makes these pans so special.

Understanding Cast Iron Seasoning
Before we dive into the how-to, let’s talk about what seasoning actually is. When you season cast iron, you’re creating a protective layer that prevents rust and gives the pan its natural nonstick properties. This layer forms when oil is heated to its smoke point, causing a chemical reaction called polymerization. The oil bonds to the iron surface and hardens into a smooth, slippery coating.
I learned this the hard way when I bought my first cast iron pan and treated it like regular cookware. I scrubbed it aggressively with soap and water, thinking I was keeping it clean. Within weeks, I noticed rust spots forming, and the surface felt rough. That’s when I realized how to season cast iron pan wasn’t just a suggestion—it was essential maintenance. The good news is that once you understand the science, the process becomes second nature.
The reason cast iron needs seasoning is simple: bare iron oxidizes when exposed to moisture and air. Seasoning creates a barrier that protects the metal underneath. Each time you cook with fat or oil, you’re adding microscopic layers to this protective coating. Over months and years, these layers build up into a glossy, dark patina that becomes increasingly nonstick. This is why vintage cast iron pans from your grandmother’s kitchen often cook better than brand new ones.
Source: epicurious.com
Initial Seasoning Methods for Cast Iron
When you first get a cast iron pan, whether it’s new or vintage, it needs a solid foundation. There are several effective approaches to how to season cast iron pan from scratch, and each has its benefits.
Oven Seasoning Method
The oven method is the most popular way to season cast iron because it’s reliable and builds a durable base layer. Start by preheating your oven to 500 degrees Fahrenheit. Wash your pan thoroughly with hot soapy water and dry it completely with a towel. Any moisture left on the surface can cause uneven seasoning or rust spots.
Next, apply a very thin coat of oil to the entire pan, including the bottom, sides, and handle. This is crucial—you want to use just enough oil to coat the surface, almost to the point where it looks like there’s barely any oil at all. Too much oil creates a sticky, uneven finish. I recommend using a paper towel to wipe away excess oil until the pan looks almost dry.
Place the oiled pan upside down on the middle oven rack with a sheet of aluminum foil on the rack below to catch any drips. Bake for one hour at 500 degrees Fahrenheit. The heat causes the oil to polymerize and bond with the iron surface. After an hour, turn off the oven and let the pan cool completely inside—do not remove it immediately as the rapid temperature change can cause damage.
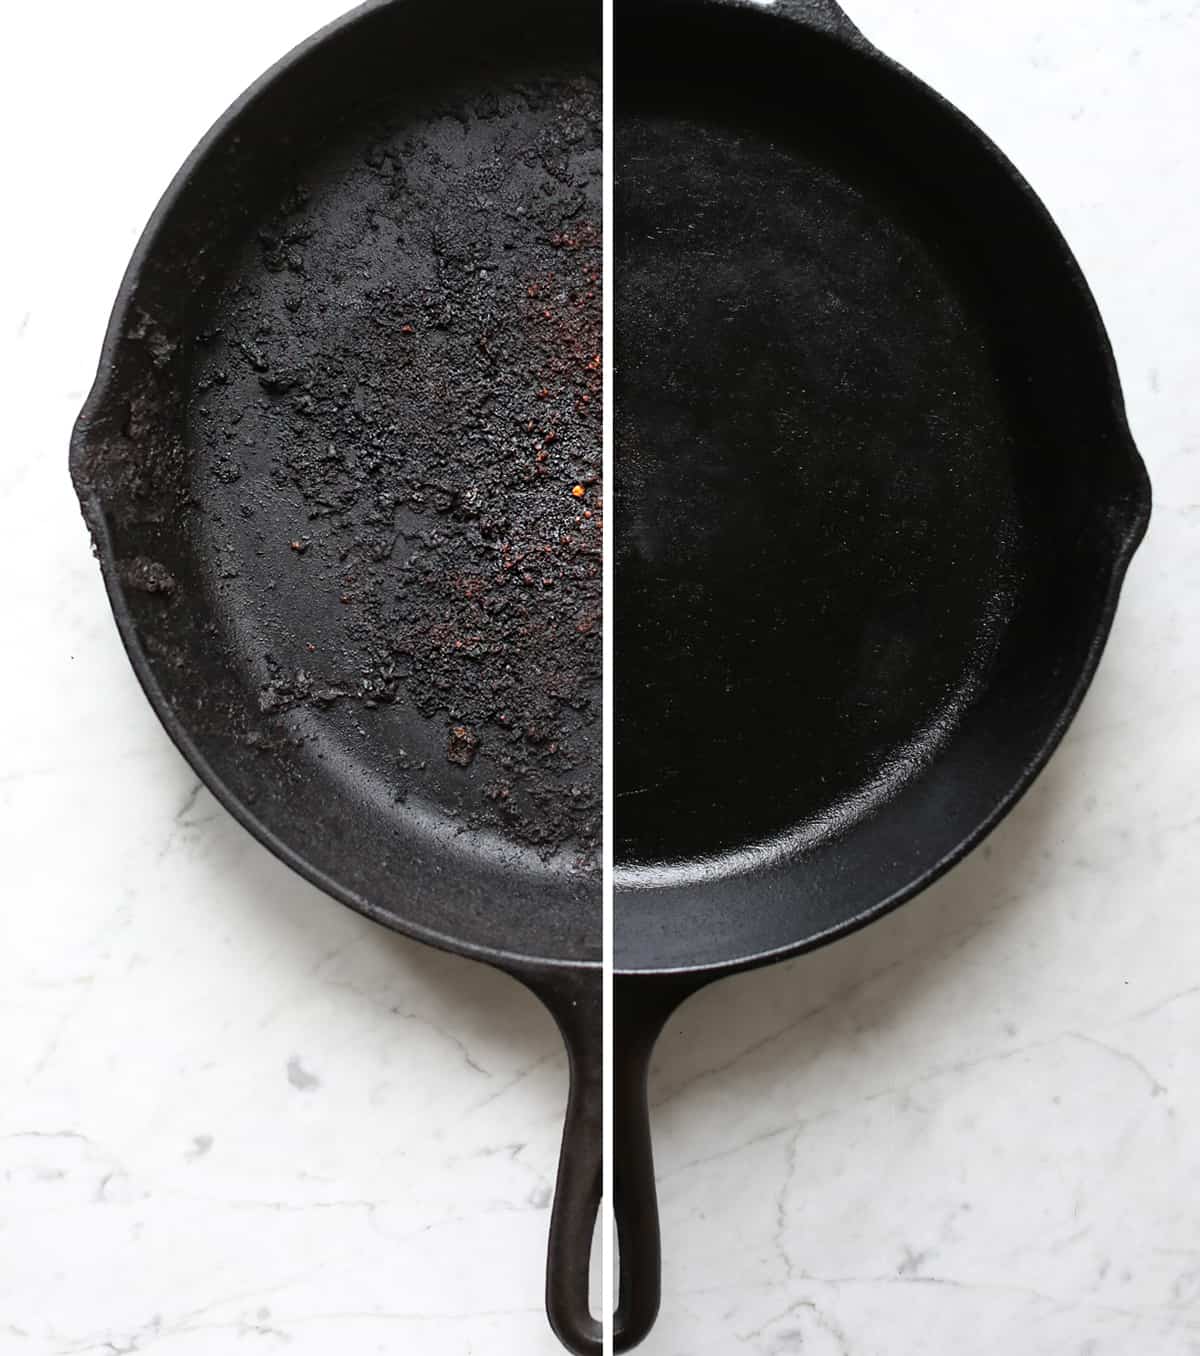
Repeat this process 3 to 6 times for a strong initial seasoning. Each layer adds depth and durability to your pan. After the first session, you’ll notice the pan has a slight matte finish. After three or four sessions, it becomes glossier and darker. By the sixth session, you’ll have a beautiful foundation that makes cooking easier.
:max_bytes(150000):strip_icc()/How-to-Season-Cast-Iron-Skillet-3x2-1-bcd280f1703e47e0a59bb62e86a0d53a.png)
Source: allrecipes.com
Stovetop Seasoning Method
The stovetop approach is faster than oven seasoning and works well for maintenance or building layers quickly. Heat your clean, dry pan on medium-high heat until it’s warm to the touch. Apply a thin layer of oil and use a paper towel to spread it evenly across the entire surface.
Continue heating the pan until it begins to smoke slightly. This indicates the oil has reached its smoke point and polymerization is beginning. Keep the heat steady for about 1 to 2 minutes, then remove the pan from the heat and let it cool. Repeat this process 2 to 3 times in one session for a quick seasoning boost.
The benefit of stovetop seasoning is that you can do it frequently without using your oven. However, building a thick protective layer takes more repetitions. I often use this method between oven seasoning sessions to add layers gradually. It’s also convenient when you have a few extra minutes and want to maintain your pan’s seasoning.
:max_bytes(150000):strip_icc()/__opt__aboutcom__coeus__resources__content_migration__serious_eats__seriouseats.com__images__2016__09__20160817-cast-iron-pan-vicky-wasik-collage-1500x1125-a15711a84a054cca9268b8ddda1e5dd2.jpg)
Source: seriouseats.com
Best Oils for Seasoning Cast Iron
Not all oils are created equal when it comes to how to season cast iron pan effectively. The best oils are those with a high smoke point, which means they can withstand high temperatures without breaking down or smoking excessively.
High Smoke Point Oils
Grapeseed oil is excellent for seasoning because it has a smoke point around 420 degrees Fahrenheit and creates a smooth, durable finish. Avocado oil has an even higher smoke point of approximately 520 degrees Fahrenheit, making it one of the best choices for building a strong seasoning layer. Canola oil is widely available and affordable, with a smoke point around 400 degrees Fahrenheit, making it a practical everyday choice.
Vegetable oil works well for maintenance seasoning and is budget-friendly. Peanut oil offers a high smoke point of about 450 degrees Fahrenheit and imparts no flavor to your food. I personally prefer grapeseed oil because I’ve found it creates the smoothest finish and builds layers consistently without any off flavors.
Oils to Avoid
Avoid using olive oil, coconut oil, or butter for seasoning cast iron. These have low smoke points and will create a sticky, uneven coating that may burn or flake off during cooking. Flaxseed oil, while popular, creates a coating that can crack and peel over time despite its high smoke point. Stick with neutral-flavored oils with high smoke points for the best results.

Source: bbcgoodfood.com
Step-by-Step Guide to Seasoning Cast Iron Pan
Let me walk you through a complete seasoning process from start to finish, based on my experience and what works consistently well.
Preparation
Start by washing your cast iron pan with hot water and a small amount of dish soap. I know this seems counterintuitive because older advice said never to use soap on cast iron, but modern dish soaps are much gentler than they used to be. A tiny squirt of soap helps remove built-up food and residue without stripping the seasoning.
Use a soft sponge or cloth to gently scrub the pan, then rinse thoroughly with hot water. Dry the pan completely with a clean kitchen towel, rubbing until there’s absolutely no moisture remaining. Any water left on the surface will interfere with seasoning and can cause rust. I sometimes place my pan on a warm burner for 30 seconds to evaporate any final moisture.
Applying Oil
Pour about a quarter-sized amount of your chosen oil into the center of the pan. Using a folded paper towel, spread the oil in circular motions, covering the entire cooking surface. Then flip your paper towel and wipe away excess oil until the pan looks almost bare—you should barely see any shine.
This is where many people make mistakes. They apply too much oil, thinking more is better. Excess oil creates a sticky, uneven finish that can become gummy or develop drips. The goal is the thinnest possible even coat that still covers the entire surface. Your pan should look dry but feel slightly slick to the touch.
Don’t forget the sides, bottom, and handle of the pan. These areas also benefit from seasoning and need equal protection. Get into the crevices and any textured areas, ensuring complete coverage. A well-seasoned pan is protected from all angles.
Baking Process
Place your oiled pan upside down on the middle oven rack of a preheated 500-degree oven. The upside-down position prevents oil from pooling in the cooking surface, which would create an uneven, sticky finish. Position an aluminum foil-lined baking sheet on the rack below to catch any drips and protect your oven.
Bake for one full hour at 500 degrees Fahrenheit. During this time, the oil polymerizes and bonds with the iron. You may notice smoke coming from the oven—this is normal and indicates the seasoning process is working. Make sure your kitchen is well-ventilated, and don’t be alarmed by any smell.
After one hour, turn off the oven and leave the pan inside to cool completely. This gradual cooling prevents warping and allows the seasoning to set properly. Resist the urge to remove the pan while it’s still hot—patience here ensures a durable finish. Once the oven is completely cool, remove your pan and admire your work.
Source: abeautifulmess.com
Maintaining Your Cast Iron Pan’s Seasoning
After you’ve invested time in seasoning your cast iron, proper maintenance keeps that investment protected. The everyday way you use and care for your pan determines whether the seasoning improves or deteriorates.
Cooking with Fat and Oil
Every time you cook with oil or fat, you’re building your seasoning layer. Cook bacon, sausage, or stir-fries regularly in your cast iron to maintain and improve the patina. The natural oils in meat and cooking fats add layers to your seasoning effortlessly.
Avoid cooking with very low fat for extended periods. While you can cook eggs or pancakes without butter, doing this frequently may gradually wear down your seasoning. Balance lean cooking with fattier meals to keep your seasoning strong.
I try to use my cast iron at least a few times a week with some fat involved. My most seasoned pan is the one I use most often for cooking bacon and sautéing vegetables in oil. The frequent use and cooking fat have built it into a beautiful, naturally nonstick surface.
Proper Cleaning Method
Clean your pan immediately after cooking while it’s still warm. Use hot water and a soft cloth or sponge to gently wipe away food residue. For stubborn stuck-on food, use a paste of salt and a small amount of oil, rubbing gently with a cloth to remove debris without scrubbing aggressively.
If you need to use soap, a tiny amount of mild dish soap is fine—the old rule about never using soap is outdated. The key is using just enough to cut through grease, then rinsing thoroughly. Dry the pan completely with a clean towel immediately after rinsing.
For additional protection, apply a very light coat of oil to the cooking surface while the pan is still slightly warm. This “seasoning after cooking” method adds thin layers over time and keeps the surface conditioned. Wipe away excess oil so the pan looks almost dry again.
Storage Tips
Store your cast iron in a dry location. If you live in a humid climate, consider applying a very light coat of oil before storing to prevent rust. Never store a damp pan or put it away while moisture is still present.
Avoid stacking cast iron pans directly on top of each other, as this can damage the seasoning on the top surface of the lower pan. If you need to stack them, place parchment paper between pans to protect the seasoning layers.
Source: youtube.com
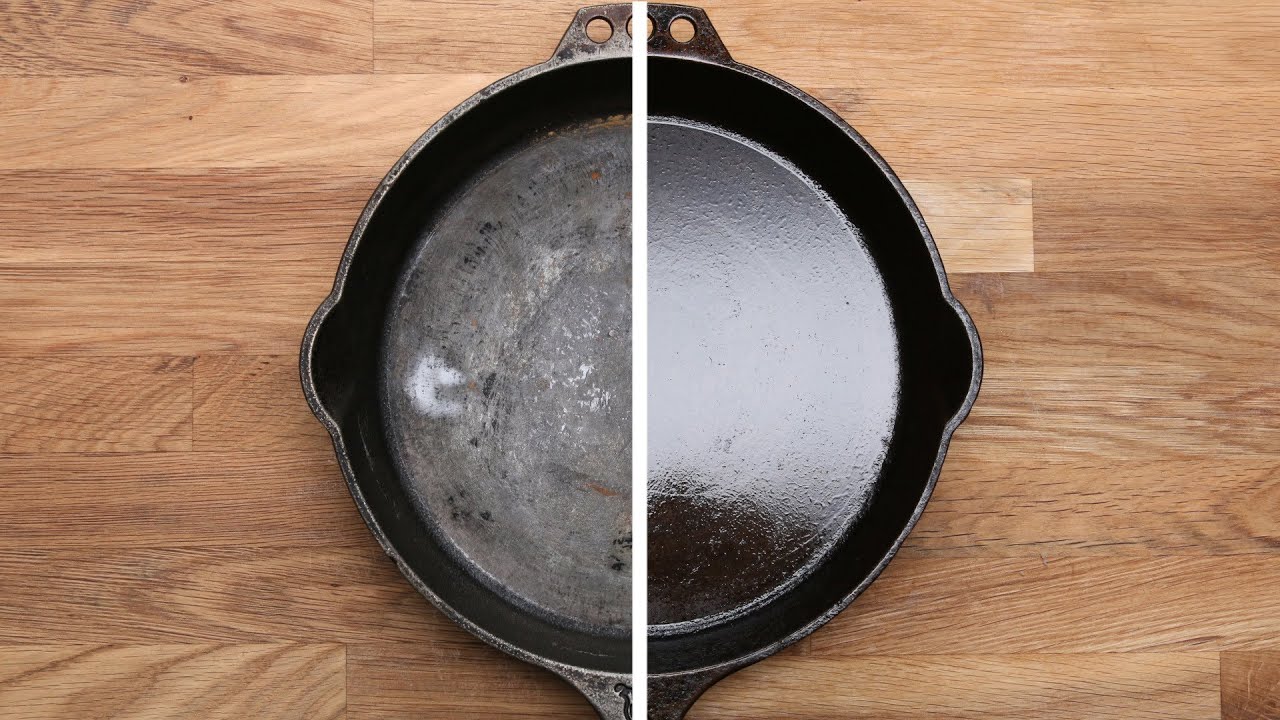
Restoring Neglected or Rusty Cast Iron
If you’ve inherited a neglected cast iron pan or have one that’s been sitting in storage, don’t worry—cast iron is incredibly forgiving. Even heavily rusted pans can be restored to cooking condition.
Removing Rust and Buildup
For light surface rust, use a stiff brush or steel wool to scrub the affected area gently. For heavier rust, you might need to use a wire brush or even rust remover. Several commercial rust removal methods work well, or you can use vinegar—soak the rusty area in white vinegar for several hours to overnight, then scrub away the loosened rust.
After rust removal, wash the pan thoroughly with hot soapy water and dry it completely. You’re essentially starting with a blank slate at this point, so proceed with the initial seasoning methods described earlier.
I once found a beautiful vintage cast iron skillet at a flea market that was heavily rusted and pitted. After soaking it in vinegar and scrubbing out the rust, I seasoned it using the oven method six times. Today, it’s my favorite pan in the kitchen, and you’d never know it was ever neglected.
Rebuilding Seasoning Layers
Once the pan is clean and rust-free, build the seasoning back up using the oven method. Start with 3 to 4 rounds of oven seasoning to establish a protective base. Then continue with regular cooking and maintenance to add layers naturally over time.
The beauty of cast iron is that it truly improves with use. A well-maintained pan from 50 years ago will outperform a brand new one because those decades of cooking have built an incredibly smooth, nonstick surface. Your neglected pan can reach that level again with some care and patience.
:max_bytes(150000):strip_icc()/GettyImages-614986450-2000-f7ac499e535845c2903ff48843e0b142.jpg)
Source: southernliving.com
Common Mistakes When Seasoning Cast Iron
Learning how to season cast iron pan correctly means understanding what not to do. I’ve made most of these mistakes, and I’m sharing them so you don’t have to.
Applying Too Much Oil
The most common mistake is using too much oil when seasoning. This creates a sticky, uneven coating that may peel or flake during cooking. The goal is a microscopically thin layer that covers the entire surface—think barely-there rather than visibly oiled.
When wiping away excess oil, use a clean part of your paper towel and really go over the pan multiple times. What you’re aiming for is a pan that looks almost dry but feels smooth and slightly slick. If you can see shine or pooling, you’ve applied too much.
Cooking at Inconsistent Temperatures
Seasoning works best when you consistently cook at proper temperatures. Cooking at very low temperatures doesn’t activate polymerization, so the oil never bonds with the pan. Conversely, extremely high temperatures can cause oil to break down rather than bond.
Medium to medium-high heat is ideal for most cooking on cast iron. This temperature range allows oil to polymerize without burning. Once your seasoning is well-established, it becomes more forgiving, but during the building phase, consistency matters.
Not Completely Drying the Pan
Water is cast iron’s enemy because it causes rust. If you don’t dry your pan completely after washing, the moisture can seep under your seasoning and create rust spots. Always dry thoroughly with a kitchen towel, then place the pan on a warm burner if needed to evaporate any remaining moisture.
I learned this lesson the hard way when I washed a pan and left it to air dry. Within days, I noticed rust spots forming. Now I’m obsessive about immediately towel-drying every pan I wash.
Using the Wrong Oils
Low smoke point oils like olive oil or butter will burn at the temperatures needed for seasoning. They create sticky, uneven coatings that don’t polymerize properly. Stick with neutral oils that have smoke points above 400 degrees Fahrenheit for consistent results.
Frequently Asked Questions
How often should I season my cast iron pan?
You don’t need to regularly re-season a well-maintained cast iron pan. If you cook with fat and oil regularly and clean it properly, your seasoning will actually improve over time. However, if your pan shows signs of dullness or sticking, you can give it a refresh by repeating the stovetop method 2 to 3 times, or do a full oven seasoning session.
Can I season cast iron in a regular oven or toaster oven?
A regular kitchen oven works perfectly for seasoning cast iron. A toaster oven may work, but ensure it can maintain 500 degrees Fahrenheit consistently. Toaster ovens sometimes have hot spots or temperature fluctuations, which can result in uneven seasoning. A full-size oven provides more reliable, even heat distribution.
What’s the difference between seasoning and non-stick coating?
Seasoning is a natural layer that builds gradually through cooking, while non-stick coating is a chemical surface applied during manufacturing. Seasoning improves with use and never wears out, while traditional non-stick coatings degrade over time. Seasoned cast iron is far more durable and can last generations, whereas non-stick cookware typically needs replacement every few years.
Why does my cast iron pan have dark spots after seasoning?
Dark or black spots after seasoning are completely normal and indicate successful polymerization. These spots show where oil has bonded to the iron surface. Some uneven coloration is expected because oil may pool slightly in textured areas or low spots. As you continue cooking and maintaining your pan, the color will become more uniform and darker overall.
Is it safe to use cast iron on glass-top stoves?
Yes, cast iron works on glass-top stoves, but you should be careful. Cast iron is heavy and can scratch glass surfaces if dragged across them. Always lift the pan rather than sliding it, and avoid using excessive force. The flat bottom of cast iron actually conducts heat very efficiently on glass-top stoves, making it an excellent choice if you’re gentle with placement.
Can I use soap when cleaning seasoned cast iron?
Modern dish soap is safe to use on cast iron in small amounts. The old wives’ tale about never using soap came from the days of harsh lye-based soaps that could strip seasoning. Today’s gentle formulas won’t damage a well-established seasoning layer. Just use a small amount and focus on gently cleaning rather than aggressively scrubbing.
Conclusion
Learning how to season cast iron pan transforms it from a simple cooking vessel into a tool that becomes better with every meal you prepare. The process is straightforward, whether you choose the reliable oven method or quick stovetop approach, and the investment of time pays dividends for years to come. By understanding the science of polymerization, choosing the right oils, and maintaining your pan properly, you’ll develop a patina that rivals those cherished heirloom pans passed down through generations.
The journey with cast iron is rewarding because you’re not just following a recipe—you’re actively building something that will improve over time. Each time you cook bacon, sauté vegetables in oil, or prepare a simple meal in your cast iron, you’re strengthening and perfecting that seasoning layer. When you encounter sticky spots or dullness, you now have the knowledge to refresh it. When you find an old cast iron pan at a thrift store, you know exactly how to restore it to its former glory.
Start today by pulling out that cast iron pan sitting in your cabinet, or pick one up from your local thrift store. Apply what you’ve learned about seasoning, use it regularly with fat and oil, and watch as it transforms into one of your most treasured kitchen tools. Leave a comment below sharing your favorite cast iron cooking experience or ask questions if you need clarification on any step. Your perfectly seasoned cast iron pan is just a few cooking sessions away.


Leave a Reply